Description
Installation
![]()
First, determine which Deck feather will be the top one. Often, you think this is obvious and then after the procedure it changes. Carefully work the coverts to one side to reveal the quill of the Deck and your target area. This takes a little practice to not antagonize your bird with this new sensation, fiddling with the feather shafts up high, while she’s cast and helpless. You’ll notice how large the quill is above where the webbing begins, but it narrows quickly as you go lower. There is usually about 1/2 inch up or down that is an acceptable spot to choose. The lower, the easier for you to later find the “target.” The higher, the safer for the transmitter to be up and away, although take care not to get close to the skin (follicle area) at all, since there will be tail springs of a transmitter coming through the Tail Piece in this direction. Be very, very conservative in this direction. The springs of Marshall transmitters have a pre-bent cant to them, laterally, so that they follow the bend of the feather in this upper area and therefore lay flat against the feather when mounted.
If you are a first time installer you may want to practice on a molted deck feather with an extra tail piece. Look closely at which way it is facing: the slots in the Tail Piece are designed to cradle the tail springs of the transmitter, so they need to be facing forward.
![]()
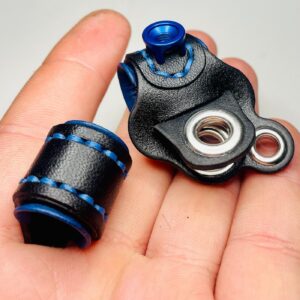
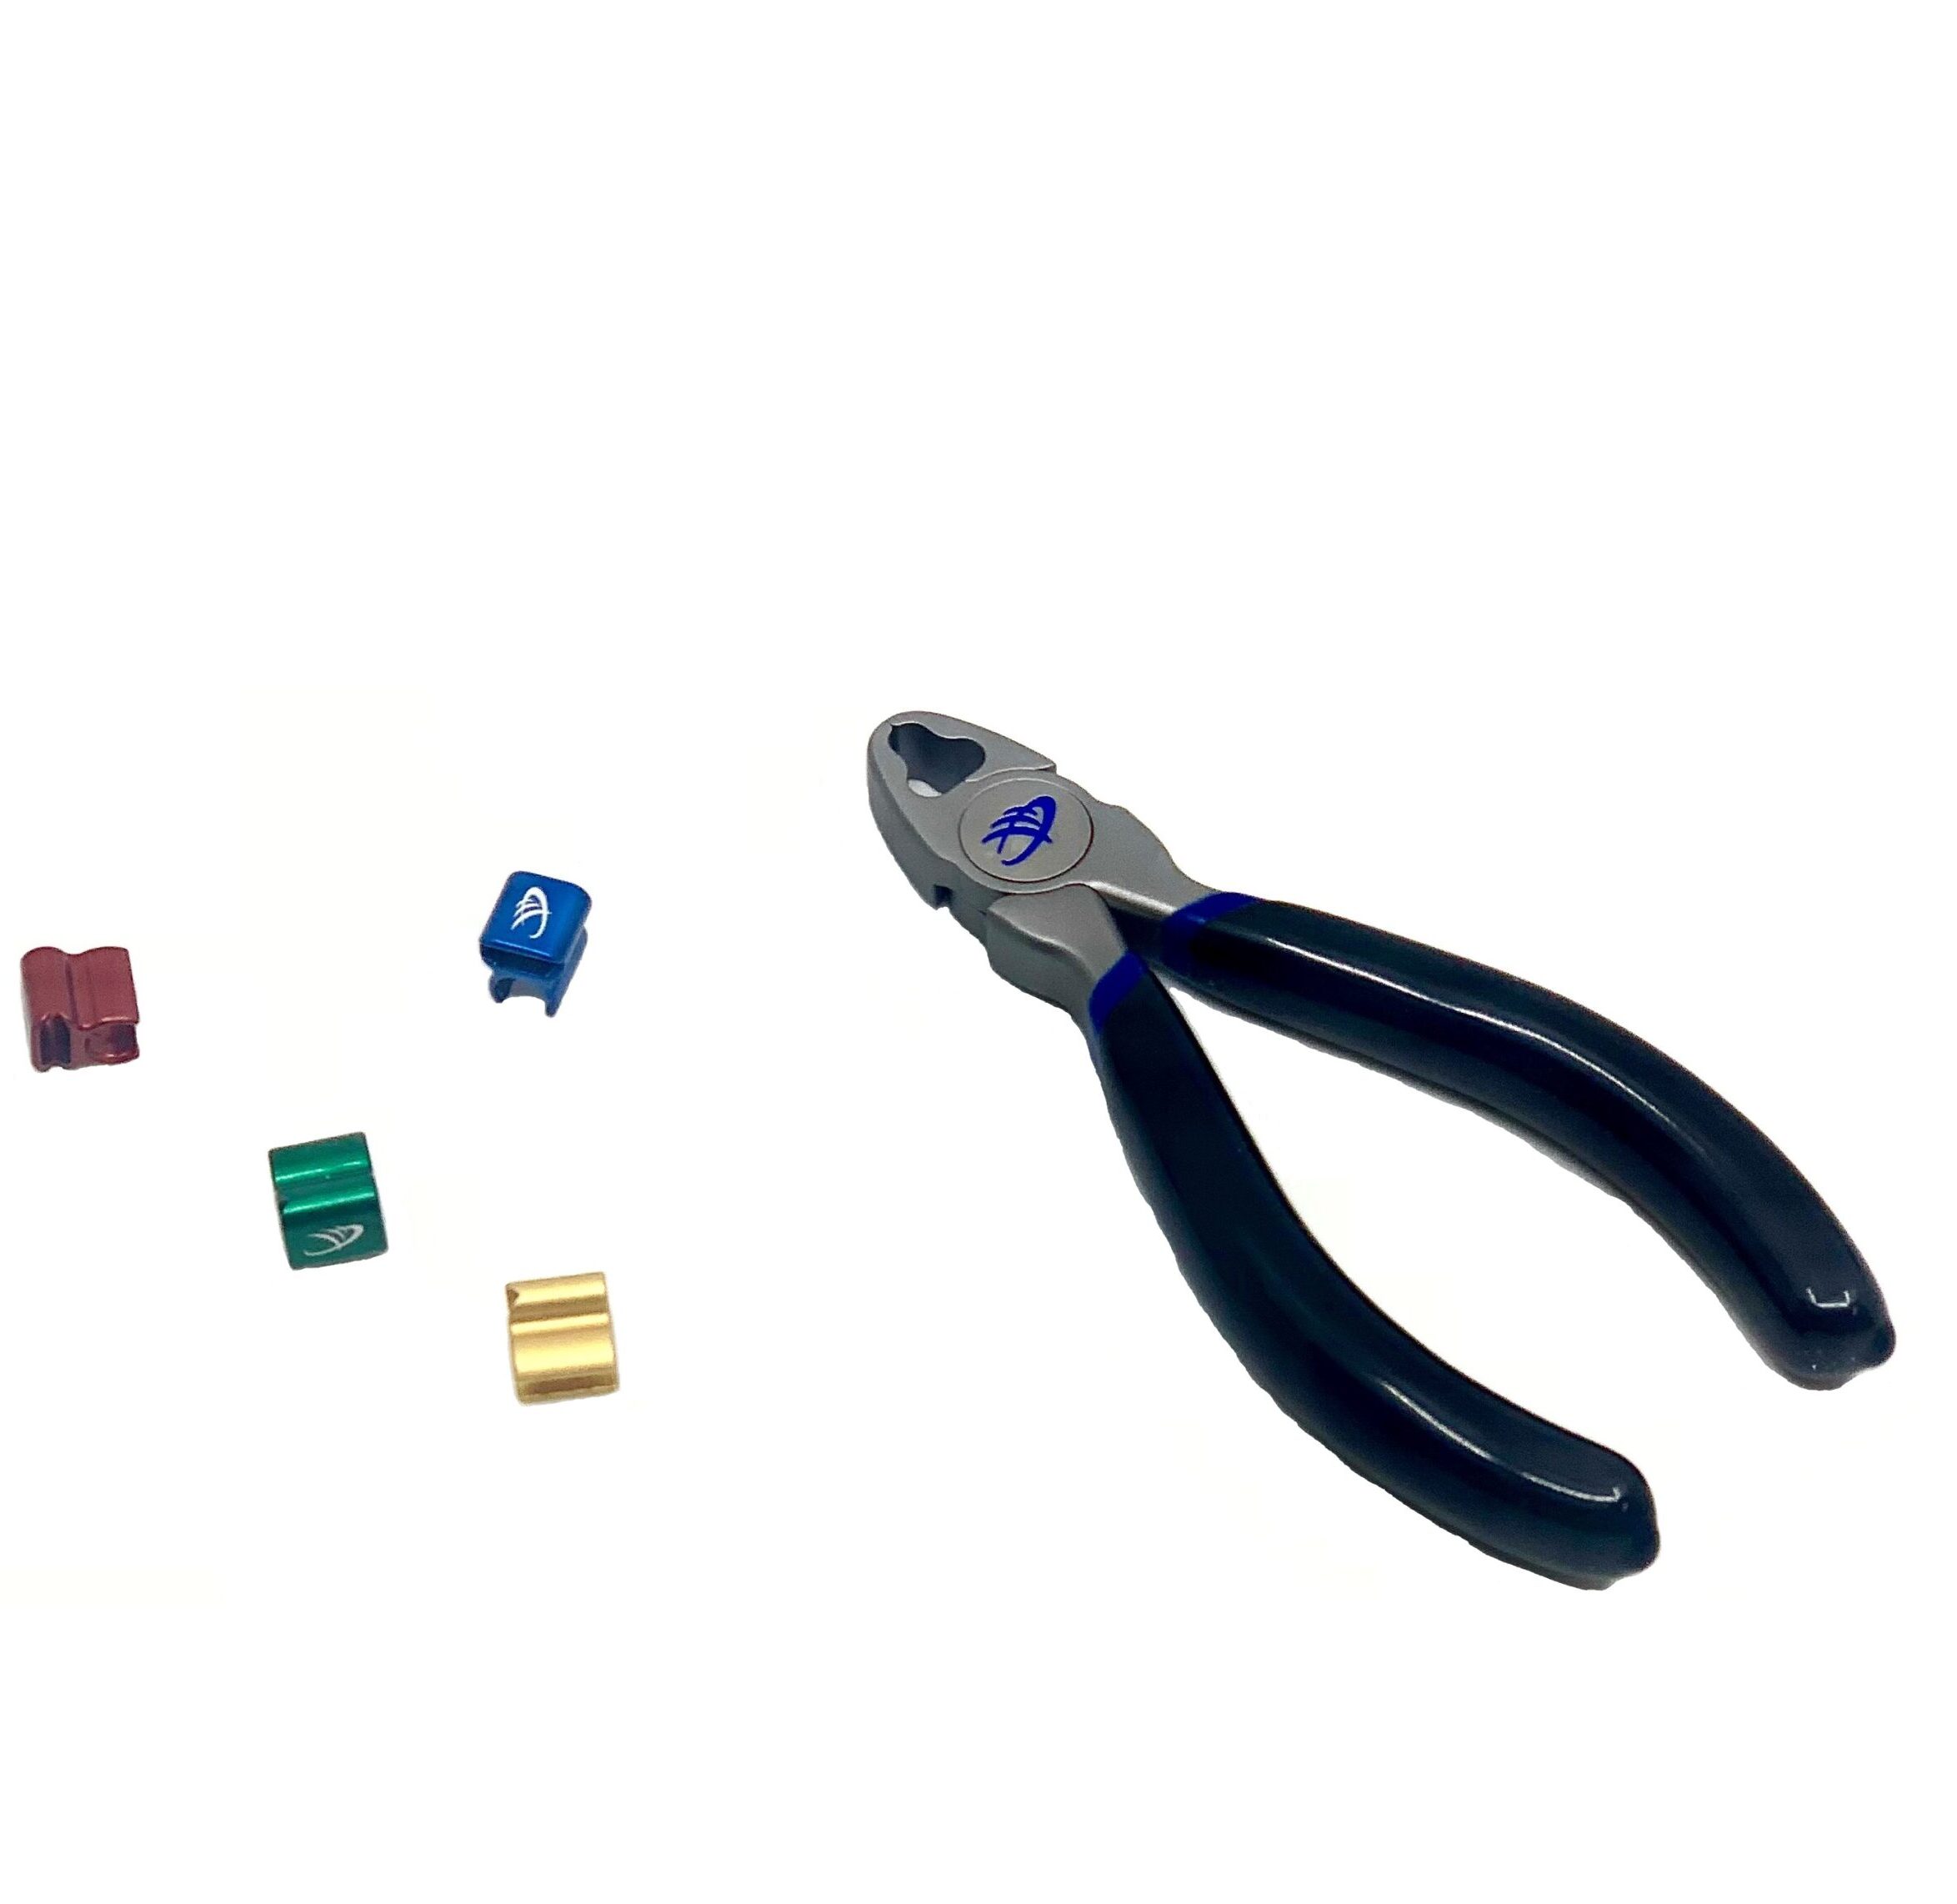
![]() Put the Tail Piece back in to the Tool, center it and now bring it down on to the tail feather using the tool instead of your hand.
Put the Tail Piece back in to the Tool, center it and now bring it down on to the tail feather using the tool instead of your hand.
Check to see that your Tool is being held vertical to the flat feather (a 90 degree angle). The closed Tool is elliptical in shape (not circular), intended to match the dimensions of the feather and there should be some self straightening as you begin to crimp. With the spot selected, and the Tool upright, give it a gentle squeeze until you feel one side collapse, then the other, but not all the way. At this stage it is snug but not tight and can still be adjusted if you are off center or too low/too high.
Make any last adjustments and then apply the Tool once more for the final crimp. Do not worry about crushing the feather because the Tool stops well short of that point, assuming you’ve got the right size for the right bird.
![]()
You can now practice inserting the transmitter’s tail springs into the mounted spare and practice removing it again, taking note of how it functions and how it should feel when the springs are in place, down in the grooves. Squeeze the springs together and move the transmitter forward to make the tiny hooks clear the Tail Piece and cross over each other in order to be removed.
If you are going to add a small drop of epoxy to the Tail Piece, have it mixed and ready. Use a toothpick to apply it to the insides of the Tail Piece and minimize the risk of getting any on the feathers. Most people nowadays do not use epoxy, since there are small ridges machined into the inside of the Tail Piece that effectively “bite” in to the quill and hold it firmly once it’s been crimped.
It’s helpful to pre-load the Tool with the new Tail Piece, taking care to note which way the slots are facing (toward the bird’s head, not the tail) and have it ready to pick up in one simple motion.